The XT transfer modules XTUT M..A and XTUT R..A are discontinued products and not included in the FlexLInk assortment. Therefore these modules are not available in the Design Tool eCatalog. However, it’s possible to build the same functionality by using the XTUT S..A modules and then attach a roller kit or an XT/XTC conveyor between the tracks.
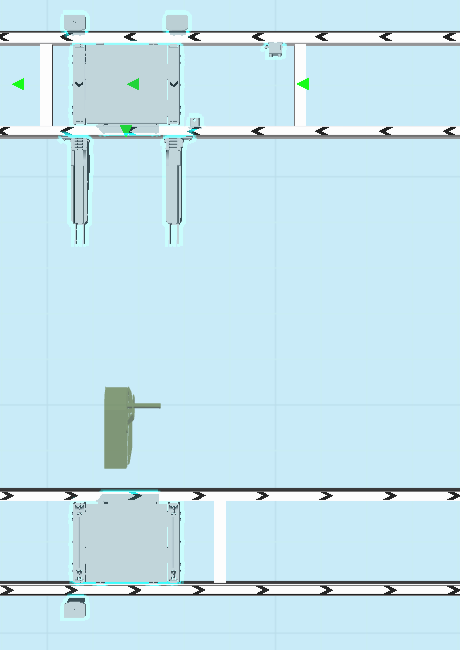
Roller kit between tracks
Select Pallet and puck handling/XT/Functions folder in the eCatalog.
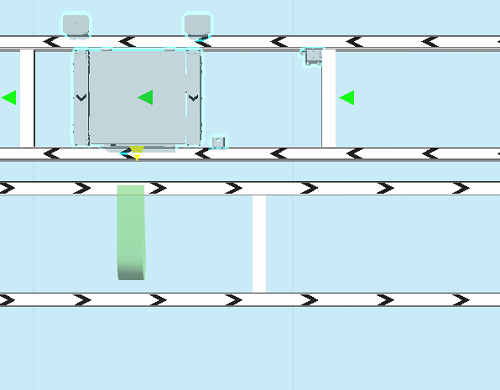
Drag-and-drop an XTUT S10 module to the 3D-world.
Snap the module to the source track.
Set the transfer direction by setting the Direction parameter in the Properties panel.
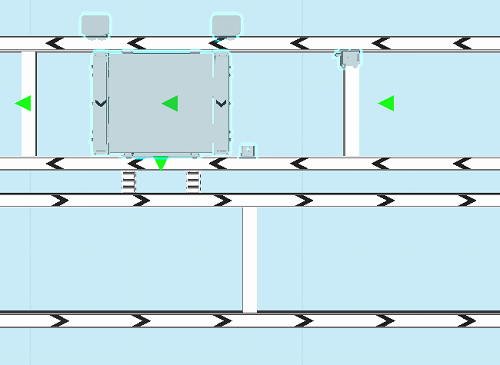
Select Pallet and puck handling/XT/Accessories folder in the eCatalogue.
Drag-and-drop a Roller kit component to the 3D-world.
Snap the roller kit to the XTUT S10 module.
Select Pallet and puck handling/XT/Functions folder in the eCatalogue.
Drag-and-drop an XTUT S12A module to the 3D-world.
Set the transfer direction by setting the Direction parameter in the Properties panel.
Snap the module to the roller kit.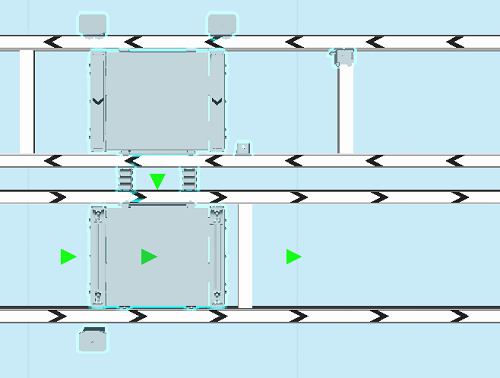
Make sure all interfaces are correctly attached by verifying that the small interface arrows are green.
Conveyor between tracks
Select Pallet and puck handling/XT/Functions folder in the eCatalogue.
Drag-and-drop an XTUT S10 module to the 3D-world.
Snap the module to the source track.
Set the transfer direction by setting the Direction parameter in the Properties panel.
Click the Build handles idler.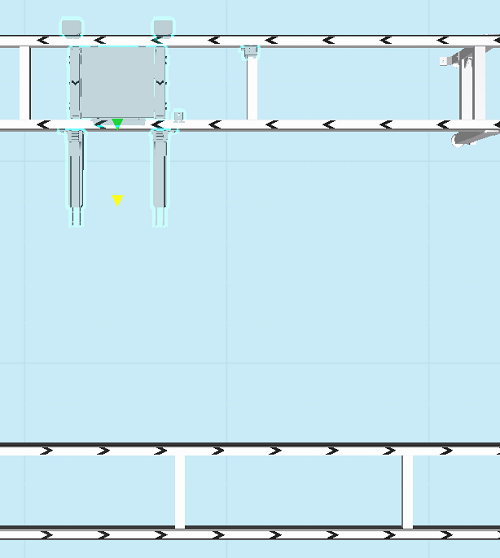
Select Pallet and puck handling/XT/Functions folder in the eCatalogue.
Drag-and-drop an XTUT S12A module to the 3D-world.
Set the transfer direction by setting the Direction parameter in the Properties panel.
Snap the module to the destination conveyor.
Adjust the position of the module to make sure it's aligned with the source track module.
Click the Build handles drive unit.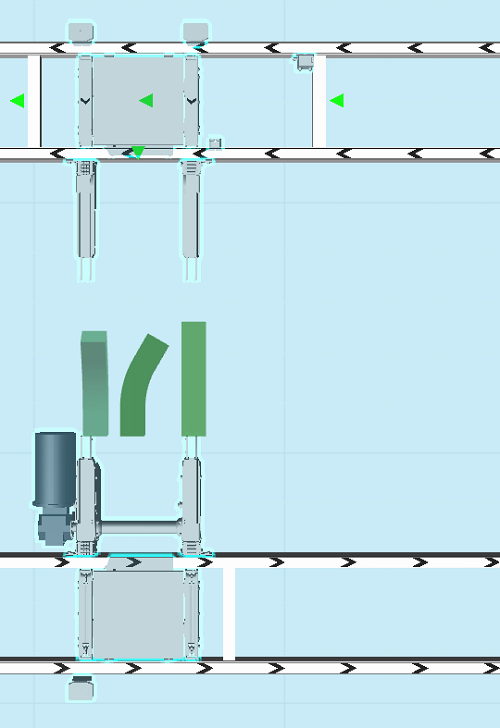
Click the Build handles beam section.
Use the Positioning feature to adjust the beam length to match the distance between the idler and the drive unit.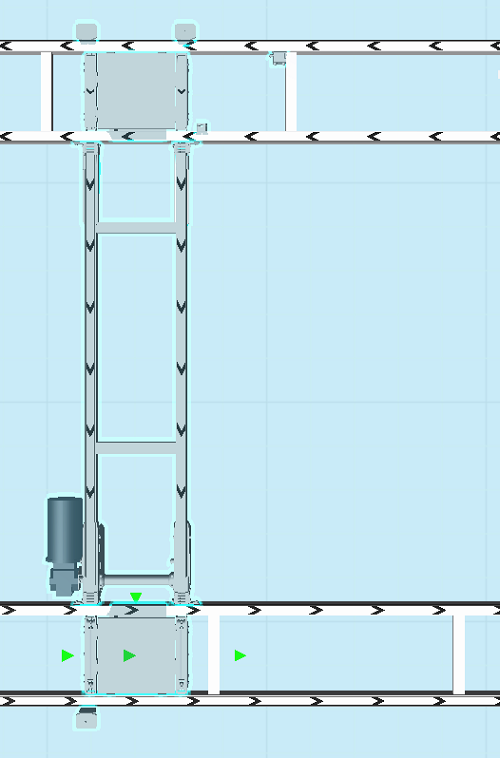
Make sure all interfaces are correctly attached by verifying that the small interface arrows are green.