The Part list in FlexCAD AutoCAD can be manipulated with the Part list function regarding the order of the components and numbering. Numbering is in the Part list function window called Item.
Prerequisites:
- Model made, built up with FlexCAD parts
- Drawing with the wanted viewports done
- FlexLink’s drawing template used for drawing frame
Inserting the Part list
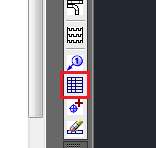
First go to the layout of AutoCAD where the drawing is, then click the Part list icon, see picture below, to start the Part list command.
Then the FlexCAD Parts List window opens:
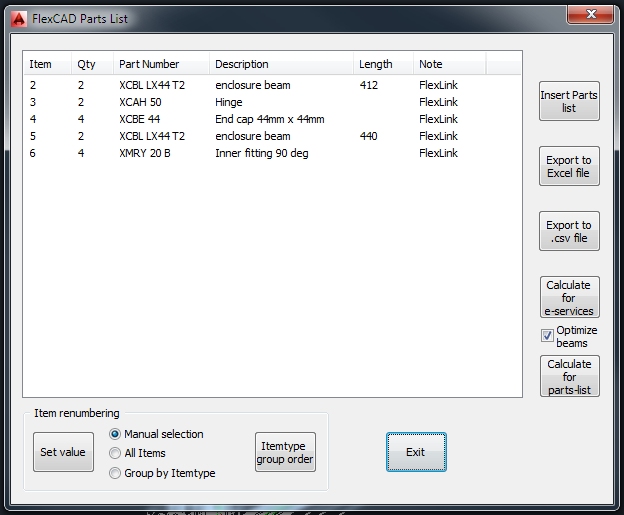
By clicking the button Insert Parts list, the window closes and the lower left corner of the part list table sits in the AutoCAD cursor, right-mouse-button click places the table on the drawing area. Preferred is to choose to click on the upper left corner of the FlexLink’s drawing template’s drawing head. Then the table is located according to standard, see picture below.
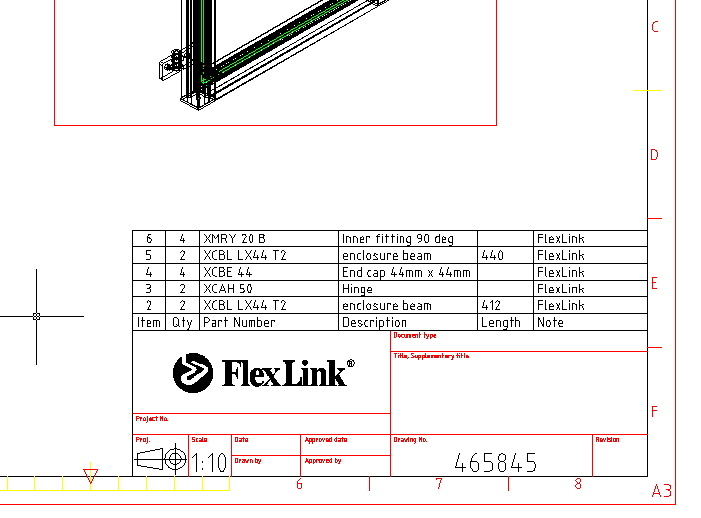
As seen in the picture above, the order of the items in the table is the same as in the FlexCAD Parts List window. There are some built-in tools in the Part list command that allows the user to change the order of the parts and also change the numbering (Item in the table).
How to change the numbering (Item renumbering)
In the bottom part of the Part list command window, see picture below, there is a section called Item renumbering. In this section the Item number can be changed and the order of the parts can be changed to some extent.
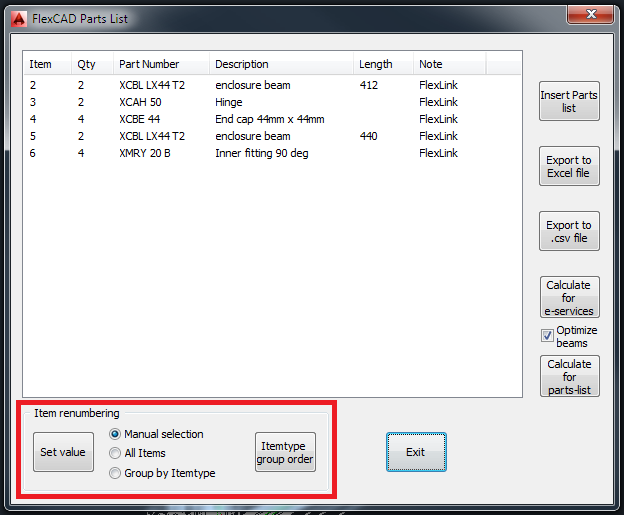
Let’s start with the three radio buttons. Manual selection allows the change of numbering of one item at a time, All Items changes all the numbering of items at one time and in Group by Itemtype the items are regrouped in their respective item groups, like bends, conveyor beams etc.
Manual selection
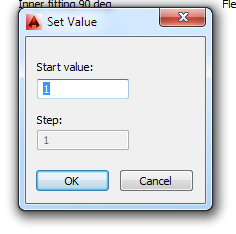
Manual selection allows the user to change the numbering item by item and is done by clicking on the item’s number in the list, which then becomes highlighted, and then clicking the Set value button. A new window opens on top of the above window (see picture below), and the new number shall be entered under Start value:. Clicking OK closes the window and updates the number of the item.
All Items
The first thing to do in working with All items is to click the Set value button. The Set Value opens (same as above but with Step: activated) where Start value: is the number the first item’s number and Step: is what steps the numbering should be. Some examples:
Start = 10, Step = 10 gives the numbering 10, 20, 30 etc.
Start = 2, Step = 20 gives the numbering 2, 22, 42 etc.
Start = 1, Step = 2 gives the numbering 1, 3, 5 etc.
Group by Itemtype
In the Group by Itemtype the user has an option to regroup the part list according to what item type the part belongs to. Item types in FlexLink’s world are e.g. conveyor beams, slide rail, bends etc. By first clicking the Itemtype group order button, the user is allowed to set in what order the item types should come, there is a preset order so the user doesn’t have to set an order before using the function.
As for the other renumbering ways, the Group by Itemtype is done by clicking the Set value button. The Set Value window opens and procedure for renumbering is exactly the same as for All Items. When clicking OK the items are regrouped and renumbered.
The effect on the inserted part list in the drawing is immediate, but if a Group by Itemgroup has been done the old part list needs to be removed and a new one entered to get the best result.